
Let’s see if we can get Puppeteer-Sharp running into an Azure Function.
Finally!!!

Environment
Azure sandboxes have some restrictions. They also have blocked many GDI APIs. So, copying and executing a chrome.exe file in the build folder won’t work.
But, we can create a function using a custom docker image, and we’ve already learned how to run puppeteer-sharp on Docker .

Resources
I think these three posts will be super helpful:
- Create a function on Linux using a custom image.
- Azure Functions in a Docker Container by Matias Miguenz
- How to run puppeteer-sharp on Docker ;)
Prerequisites
I followed all the steps mentioned in the “Create your first function from the command line” post.
Let’s get started
Our Example
Let’s create a simple function that will receive a GitHub user as an argument and will return the activity section as an image.
Our Function
First, we are going to initialize our project:
func init . --worker-runtime dotnet --docker
Notice that I added a --docker flag, so we get a DockerFile in our project.
Now, let’s create a new function:
func new --name GitHubActivity -t HttpTrigger
This command will create a new GitHubActivity class. Let’s write our code there.
[FunctionName("GitHubActivity")]
public static async Task<IActionResult> Run(
    [HttpTrigger(AuthorizationLevel.Function, "get", "post", Route = null)] HttpRequest req,
    ILogger log)
{
    log.LogInformation("C# HTTP trigger function processed a request.");

    await new BrowserFetcher().DownloadAsync(BrowserFetcher.DefaultRevision);

    string owner = req.Query["owner"];

    var contributorsPage = $"https://github.com/{owner}/";

    using (var browser = await Puppeteer.LaunchAsync(new LaunchOptions
    {
        Headless = true,
        Args = new[] { "--no-sandbox" },
        DefaultViewport = new ViewPortOptions
        {
            Width = 2000,
            Height = 800
        }
    }))
    using (var page = await browser.NewPageAsync())
    {
        await page.GoToAsync(contributorsPage);
        await page.WaitForSelectorAsync(".graph-before-activity-overview");
        var element = await page.QuerySelectorAsync(".graph-before-activity-overview");
        var image = await element.ScreenshotDataAsync();

        return new FileContentResult(image, "image/png");
    }
}
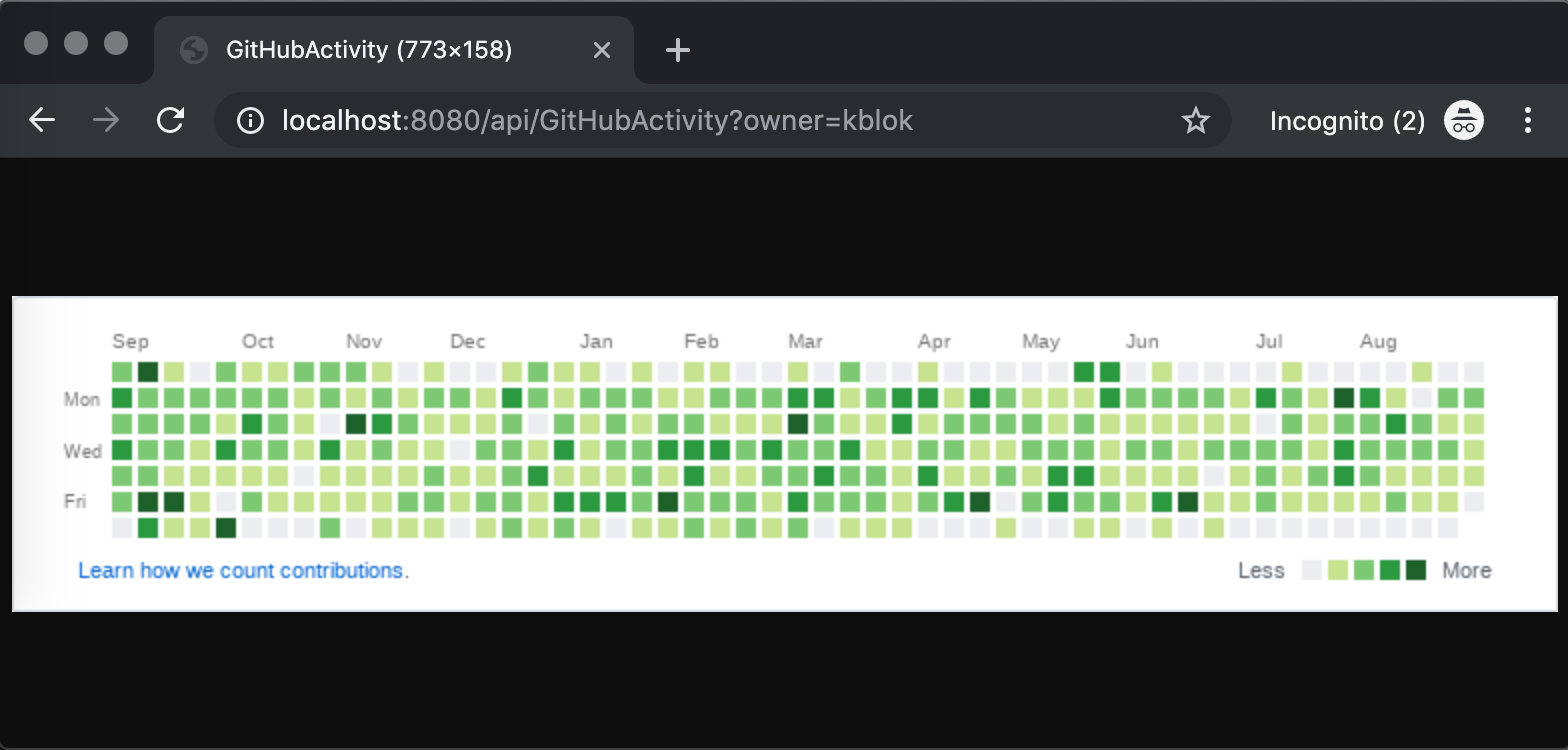
Let’s run the function!
func start
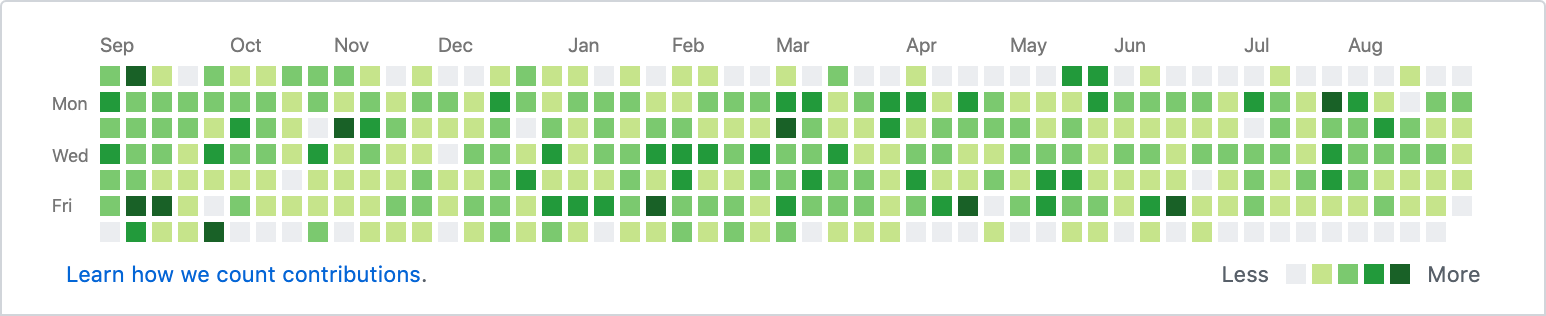
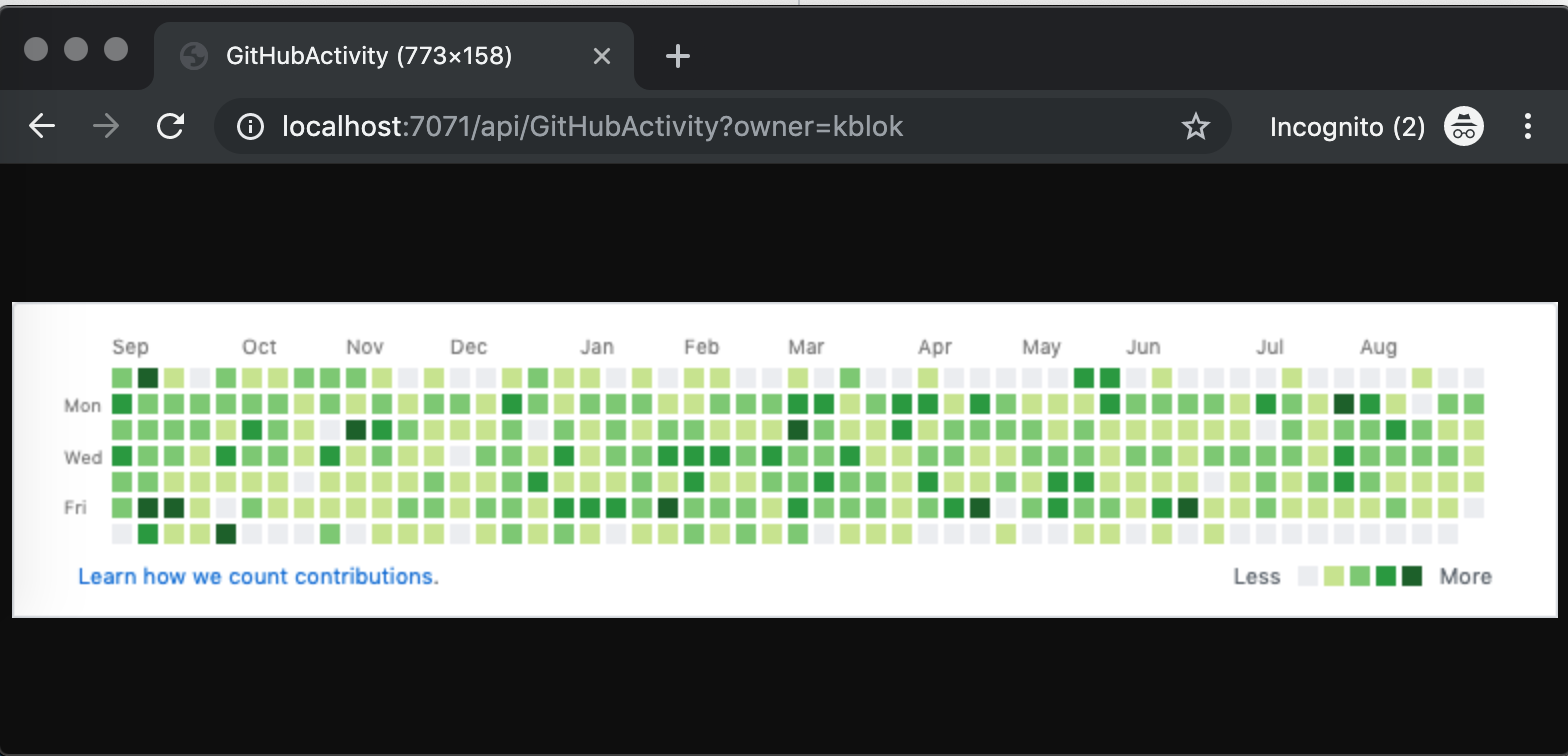
So, if we browse http://localhost:7071/api/GitHubActivity?owner=kblok&repo=puppeteer-sharp we should get the activity section:
So far, so good. Now, as I mentioned in the introduction, chromium won’t run just like that in an Azure Function. We need to dockerize it. But before doing that. Matías tells us something important on this post:
First, we need to make some changes in our code. We need to change the authorization level for HttpTriger Attribute. It works fine when we are running azure functions locally, but it will return us a 401 request error when we run our Azure Function inside a Docker Container. We need to set AuthorizationLevel to Anonymous.
Let’s change that in our code:
[FunctionName("GitHubActivity")]
public static async Task<IActionResult> Run(
    [HttpTrigger(AuthorizationLevel.Anonymous, "get", "post", Route = null)] HttpRequest req,
    ILogger log)
Let’s take a look at the DockerFile the command func created for us:
FROM microsoft/dotnet:2.2-sdk AS installer-env

COPY . /src/dotnet-function-app
RUN cd /src/dotnet-function-app && \
    mkdir -p /home/site/wwwroot && \
    dotnet publish *.csproj --output /home/site/wwwroot

FROM mcr.microsoft.com/azure-functions/dotnet:2.0
ENV AzureWebJobsScriptRoot=/home/site/wwwroot \
    AzureFunctionsJobHost__Logging__Console__IsEnabled=true

COPY --from=installer-env ["/home/site/wwwroot", "/home/site/wwwroot"]
So, a few posts ago, we learned how to run Puppeteer-Sharp on Docker. What if we mix the DockerFile func created with our recipe?
It would be something like this:
FROM microsoft/dotnet:2.2-sdk AS installer-env

COPY . /src/dotnet-function-app
RUN cd /src/dotnet-function-app && \
    mkdir -p /home/site/wwwroot && \
    dotnet publish *.csproj --output /home/site/wwwroot

FROM mcr.microsoft.com/azure-functions/dotnet:2.0
ENV AzureWebJobsScriptRoot=/home/site/wwwroot \
    AzureFunctionsJobHost__Logging__Console__IsEnabled=true

COPY --from=installer-env ["/home/site/wwwroot", "/home/site/wwwroot"]

#####################
#PUPPETEER RECIPE
#####################
# Install latest chrome dev package and fonts to support major charsets (Chinese, Japanese, Arabic, Hebrew, Thai and a few others)
# Note: this installs the necessary libs to make the bundled version of Chromium that Puppeteer
# installs, work.
ARG CHROME_VERSION="81.0.4044.138-1"
RUN apt-get update && apt-get -f install && apt-get -y install wget gnupg2 apt-utils
RUN wget --no-verbose -O /tmp/chrome.deb http://dl.google.com/linux/chrome/deb/pool/main/g/google-chrome-stable/google-chrome-stable_${CHROME_VERSION}_amd64.deb \
&& apt-get update \
&& apt-get install -y /tmp/chrome.deb --no-install-recommends --allow-downgrades fonts-ipafont-gothic fonts-wqy-zenhei fonts-thai-tlwg fonts-kacst fonts-freefont-ttf \
&& rm /tmp/chrome.deb
#####################
#END PUPPETEER RECIPE
#####################

ENV PUPPETEER_EXECUTABLE_PATH "/usr/bin/google-chrome-stable"
Thanks to Tobias Sundqvist for the updated recipe.
We also know that we need to remove the browser download method, because the docker image will have a chromium installed:
//await new BrowserFetcher().DownloadAsync(BrowserFetcher.DefaultRevision);
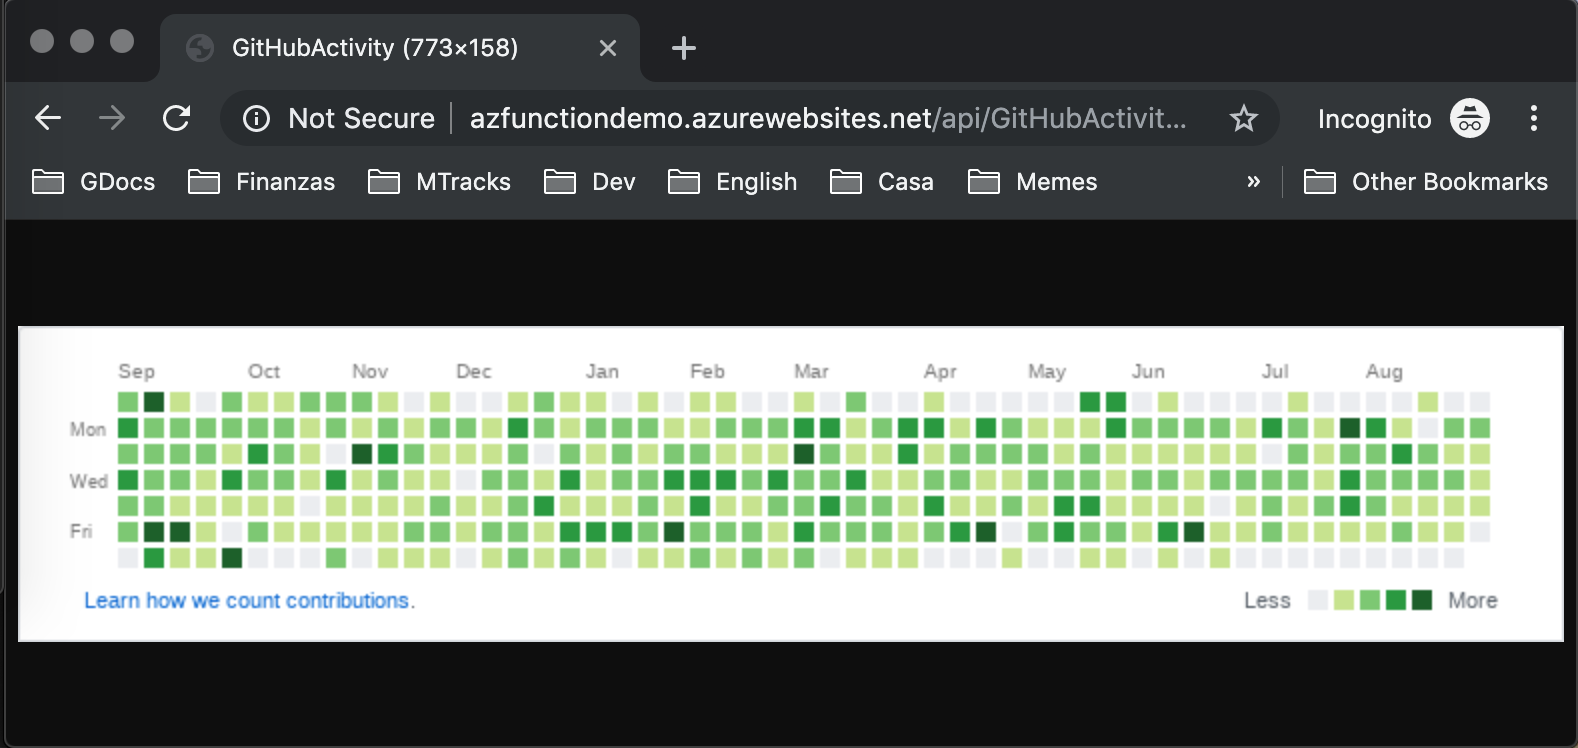
Let’s build this image and run it:
docker build --tag hardkoded/az-function-demo:v1.0.0 .
docker run -p 8080:80 -it hardkoded/az-function-demo:v1.0.0
And boom!
Publish to Azure
Now, let’s follow Microsoft Tutorial
docker login --username hardkoded
docker push hardkoded/az-function-demo:v1.0.0
az group create --name azfunctiondemo --location westeurope
az storage account create --name azfunctiondemo --location westeurope --resource-group azfunctiondemo --sku Standard_LRS
az functionapp plan create --resource-group azfunctiondemo --name azfunctiondemo --location WestUS --number-of-workers 1 --sku EP1 --is-linux
az functionapp create --name azfunctiondemo --storage-account  azfunctiondemo  --resource-group azfunctiondemo --plan azfunctiondemo --deployment-container-image-name hardkoded/az-function-demo:v1.0.0
The last command got us our function’s URL
{
  "availabilityState": "Normal",
  "clientAffinityEnabled": false,
  "clientCertEnabled": false,
  "clientCertExclusionPaths": null,
  "cloningInfo": null,
  "containerSize": 0,
  "dailyMemoryTimeQuota": 0,
  "defaultHostName": "azfunctiondemo.azurewebsites.net",
  "enabled": true,
  "enabledHostNames": [
    "azfunctiondemo.azurewebsites.net",
    "azfunctiondemo.scm.azurewebsites.net"
  ],
   ...
   ...
Let’s see if it works…


A few things to consider
I didn’t configure the app as the tutorial says, you should do it on a real app.
This setup uses a Premium plan. You might need to check the pricing.

Final Words
I know this is not as easy as one new line of code, and requires some extra work, and resources, such as a Docker Account. But at least now we know that it is possible to run a Puppeteer-Sharp function on Azure Functions.
If you tried this recipe and it’s working for you, please let me know! If it doesn’t, let me know as well!
Don’t stop coding!